Wednesday, January 12, 2011
Old Chair Soon To Be New Again
I was given 2 of these chairs 15 years ago when they still looked new. They have had milk spilled on them, crackers smashed on them, 9 kids climb all over them and anything else you could probably think of (well, maybe not anything). Anyhow, they no longer match my color scheme and they are falling apart so I figured it was time to give them a make over.
It took FOREVER to take them apart. Hundreds of upholstery tacks and gazillions of staples to remove! Finally I am getting to the fun part of cutting out and piecing together the new fabric.
I was just so excited that I had to share what I got done today. The arm rests and the back! Yea! So fresh and pretty!
Saturday, January 8, 2011
It's a process
I haven't posted much lately anywhere because I have been to busy working on my many projects. But I have been having a lot of fun and I am really starting to feel at home in our new house. It is funny how it takes a little while to get to know your house and to get a feel for what you want to create in your new spaces.


I sanded it down and then stained and varnished it. Wow, does it look so much better! It is no longer and eye sore that has "Sam is cool" scratched into it. Yea!
For my Christmas presents this year my sweet hubby made my dream come true; he got me a new white toilet and a white sink with a cabinet. I HATED the black that came with our house. I could never keep it looking clean, it showed every water spot and streak. GROSS!
But now it looks so pretty and clean. I love it!!!!
I found this table at a yard sale for $5. The corners were all chewed up by their dog and it was missing knobs on one of the drawers.
Now it is all patched up with new knobs. The green is so much fun!
This is our living room from before we moved in. Not bad, just a boring beige. This room doesn't get much sun light and is quite dark most of the day.
This is still mid project. I brightened it up with a pale yellow and I am working on curtains and recovering my 2 chairs to go with my green and yellow theme. I want a peaceful garden feel. Still a long way to go with this project, I haven't even finished edging the top of the walls. You can still see a few inches of the old beige. Now I need to find a fun sofa that doesn't cost much.
Jessi's sweet neighbor donated 4 chairs to me. They were a light blue, which does not work with my house and all my earthy tones, so I am painting them black. They are turning out so cute.
This is the dining table that I grew up with. It was in our boys room for the last 9 years and has had a lot of abuse. It now resides in our kitchen and it has been begging for a make over.
I sanded it down and then stained and varnished it. Wow, does it look so much better! It is no longer and eye sore that has "Sam is cool" scratched into it. Yea!
Sunday, December 26, 2010
winter wreath
My wonderful neighbor has decorated her house in blues, silvers, and blacks. I was very excited to make her a present for Christmas in these beautiful colors. I love when people decorate with these frosty wintery colors, but they don't match my house AT ALL so it was fun to have a reason to buy and craft with these magical colors.
The first one had a little ribbon/lace rosette and the next one had a super sparkly silver poinsettia. I gave Dandi the one with the poinsettia and I gave my neigbor the one with the rosette.

I got the wreath from Dollar Tree and just spray painted it black. The sprigs were super cheap at Joann's. I wound black ribbon at the base of the sprigs to secure it together and then used a black twisty to attach to the wreath. Then I just put the flowers on clips and clipped them to the sprigs. I wanted everything to be removable so that I could make fun Halloween things and other holidays decorations to attach.
I have one wreath left and I think I'll have to do something sparkly and wonderful that matches my house (greens and browns).
I got the wreath from Dollar Tree and just spray painted it black. The sprigs were super cheap at Joann's. I wound black ribbon at the base of the sprigs to secure it together and then used a black twisty to attach to the wreath. Then I just put the flowers on clips and clipped them to the sprigs. I wanted everything to be removable so that I could make fun Halloween things and other holidays decorations to attach.
I have one wreath left and I think I'll have to do something sparkly and wonderful that matches my house (greens and browns).
I linked this post on a fun blog I like to visit-- Sumo's Sweet Stuff.
Tuesday, December 7, 2010
Felt Flowers
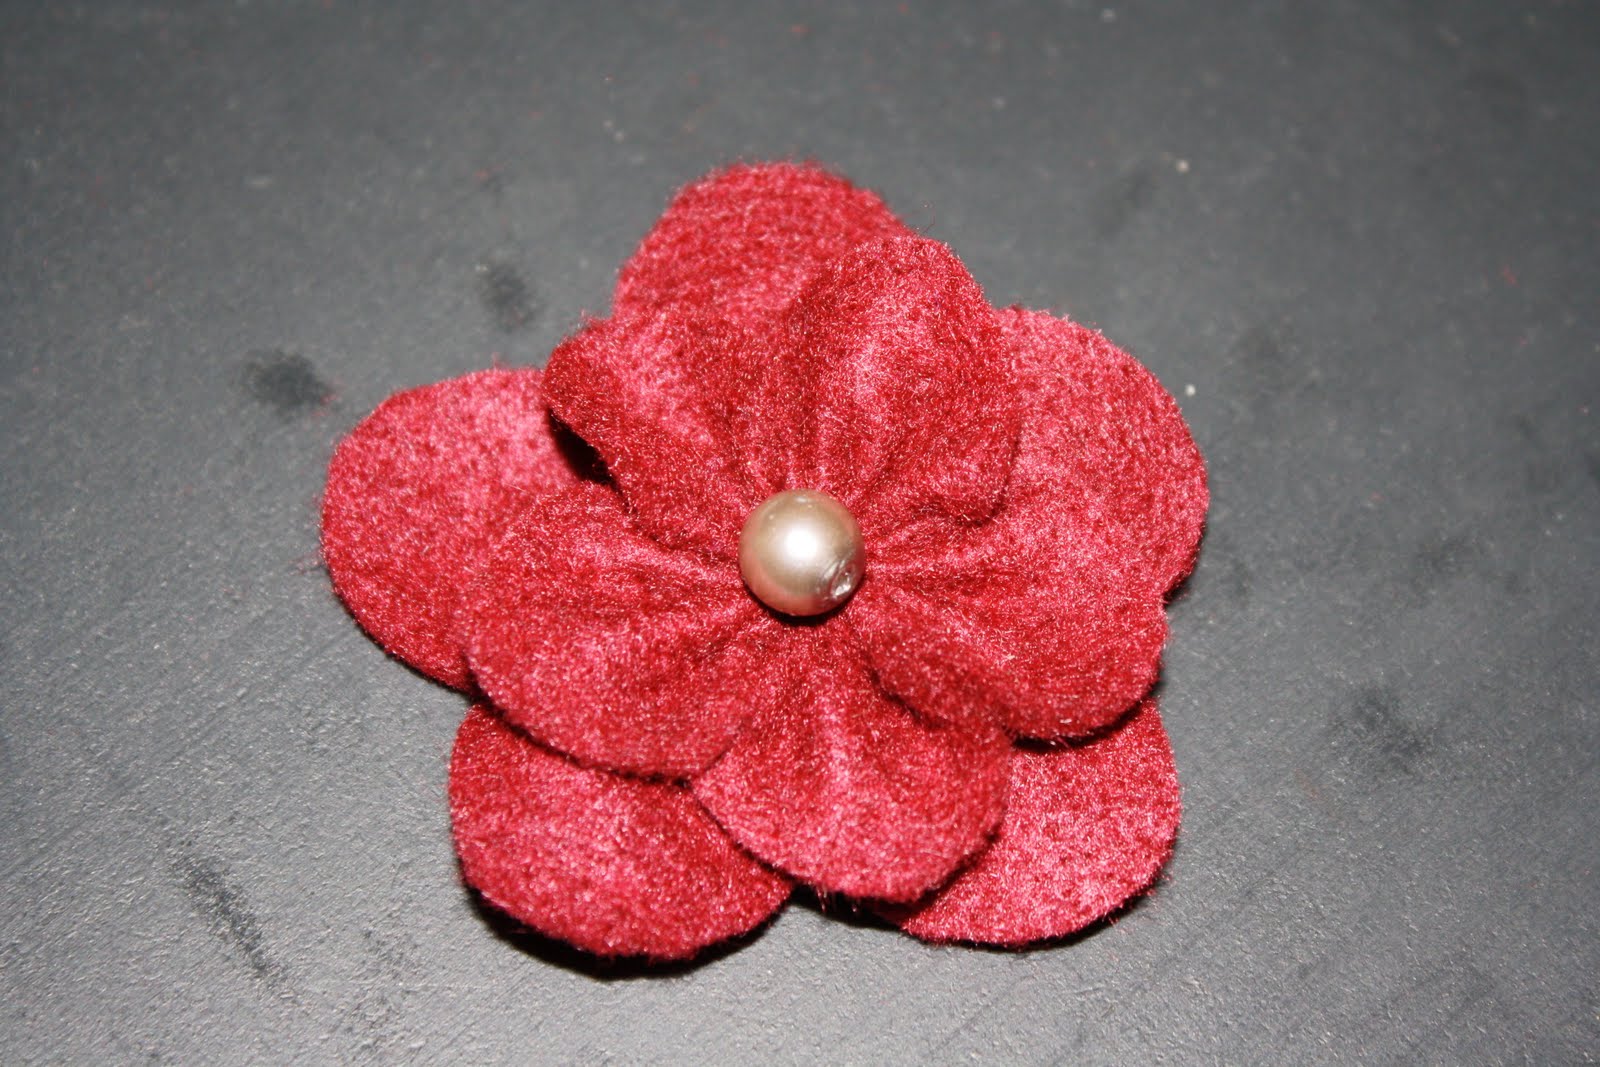
I am making these cute flower clips and pins to decorate goody plates for teachers. So easy and fun. They would look darling on head bands too.

I used some poster board to make pattern circles and then used them to cut out 5 large circles and 3 small circles.
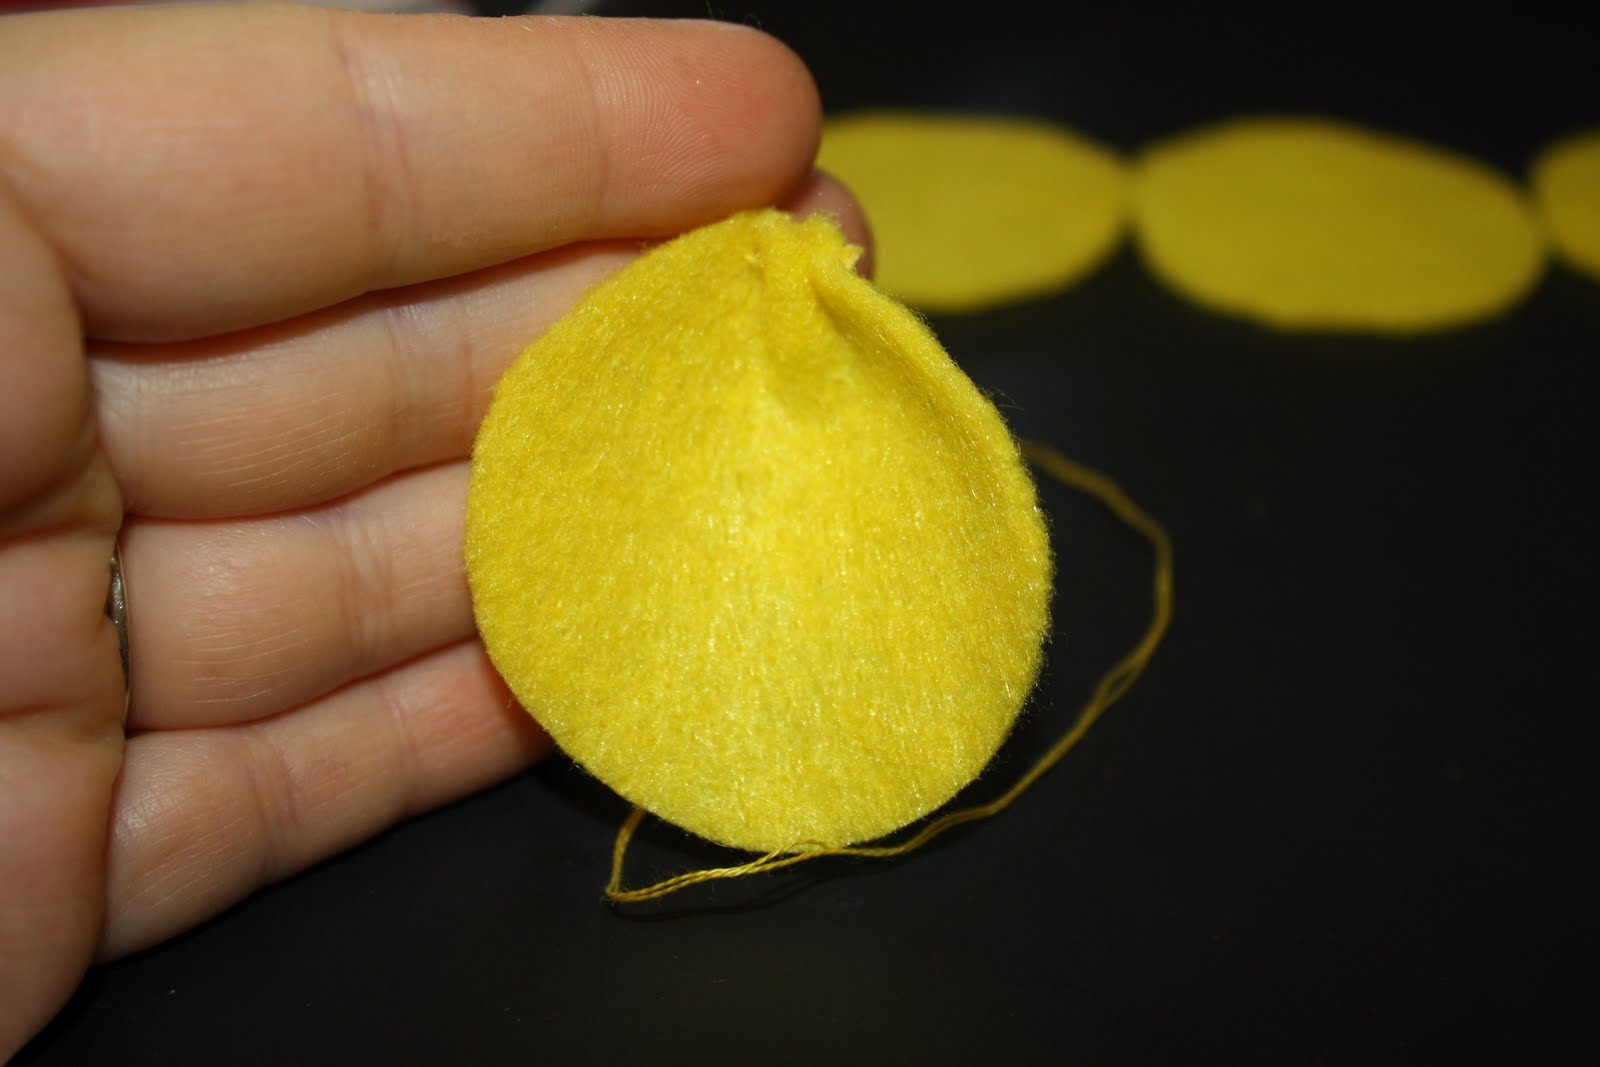
Stitch each petal with a running stitch beginning on the back side, coming up, back through, up, back through to gather the petal.

Stack and stitch or hot glue together. Put a button or bead in the center if you want and then attach it to a pin, clip or head band.
Style #2
Monday, October 11, 2010
Sticky Mess
I really wanted a wreath for my front door for this Halloween season. Here is my best effort so far. This is certainly not my area of expertise, but I'm trying really hard.
I got a bunch of sticks that fell from my tree during the storm last week.
I spray painted them black.
With black twisties and hot glue, I made a wreath of sorts. It still needs something though. Is it TOO sparse? More branches, feathers, a big fat orange bow, spiders? PLEASE comment and tell me what you think.
Pumpkin Patch...
So, instead of crafting that which I needed to, I got sidetracked into do this. Not sure what I am going to do with them. But they were fun to make.
Saturday, October 2, 2010
refinish
This was so much easier than I thought it would be! Todd's daddy came in to town and while he was here he taught us how to do it.
First you sand down or strip the surface.
Then you apply the stain (apply as evenly as possible).
Todd and his dad working as a team...
Subscribe to:
Posts (Atom)