


Style #1
 I used some poster board to make pattern circles and then used them to cut out 5 large circles and 3 small circles.
 Stitch each petal with a running stitch beginning on the back side, coming up, back through, up, back through to gather the petal.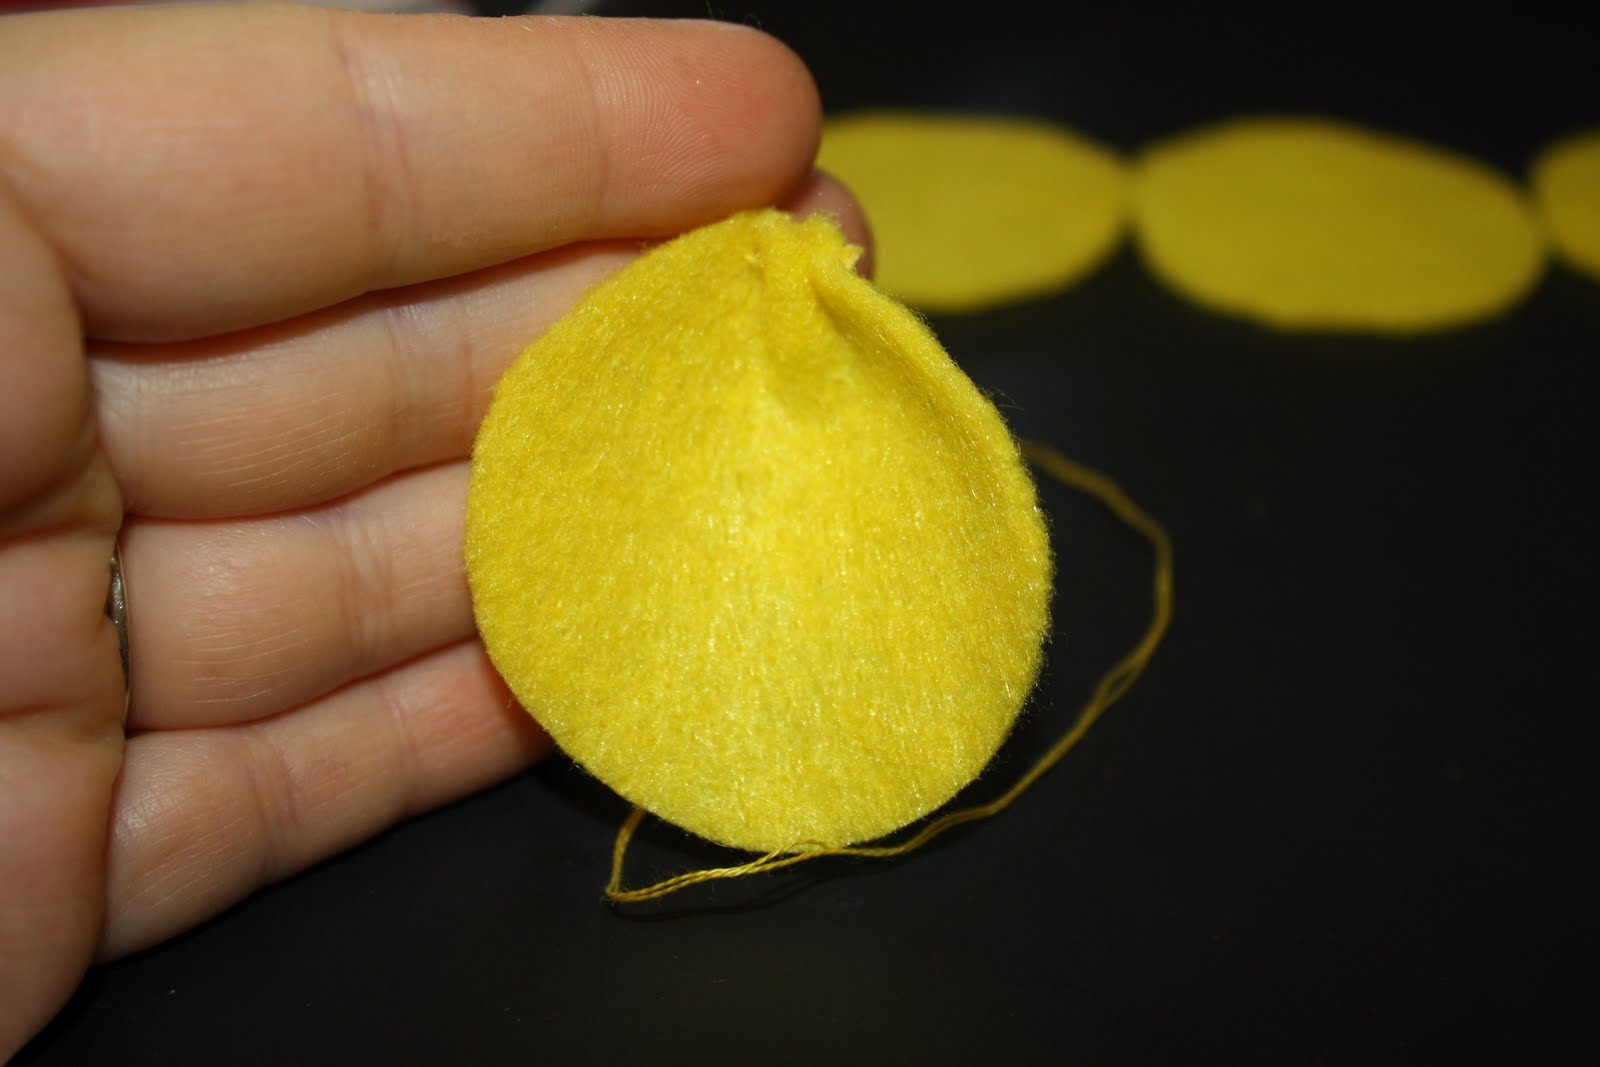
 String the petals together, stitching each petal the same as before.
 Finish it off by stitching it the last petal to the first petal and tie off.
 Do the same with the small petals.
 Stack and stitch or hot glue together. Put a button or bead in the center if you want and then attach it to a pin, clip or head band.
Style #2
 Cut two strips of felt, the smaller one being 3/4 of the height of the larger.
 Cut petals, whatever shape, (for poinsettias make them more triangular).
 Use a running stitch to gather the petals.
 Gather and stitch the ends together. Tie off.
 Do the same with the next strip of petals.
 Stack and stitch or hot glue the layers together.
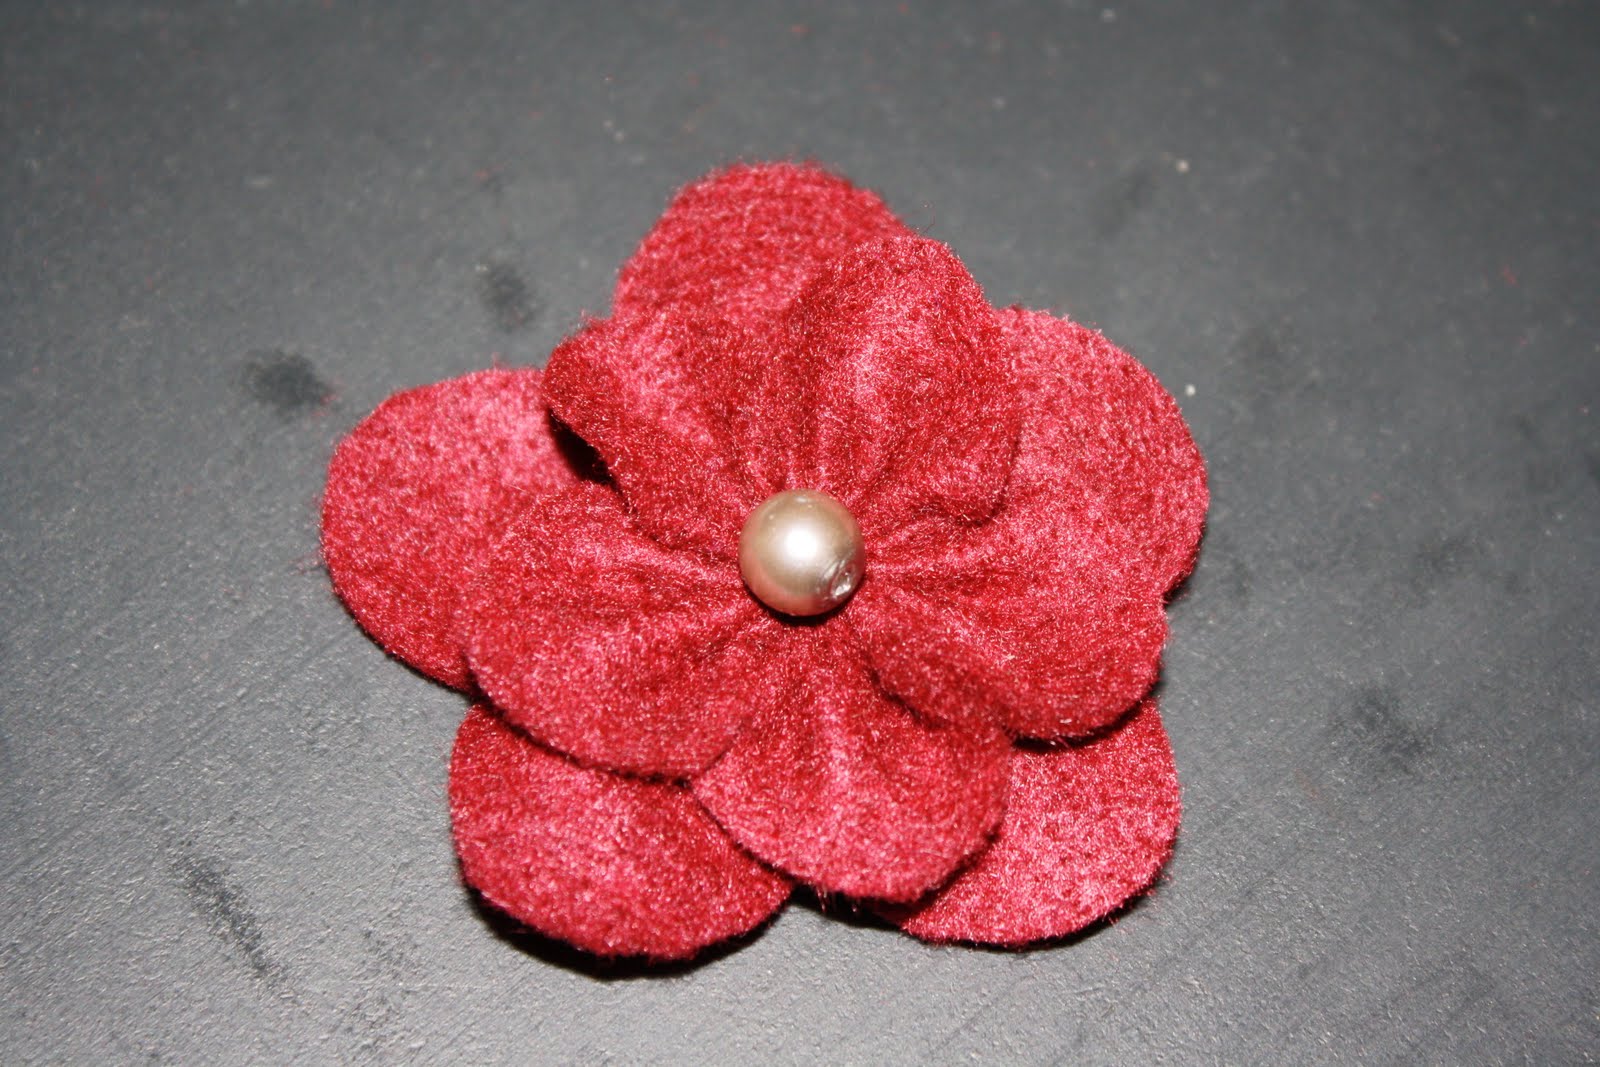 Add a button or bead to finish it off and then attach it to a pin, clip or head band.


.JPG)
.JPG)
.JPG)
.JPG)
.JPG)


.JPG)
.JPG)
.JPG)
.JPG)
